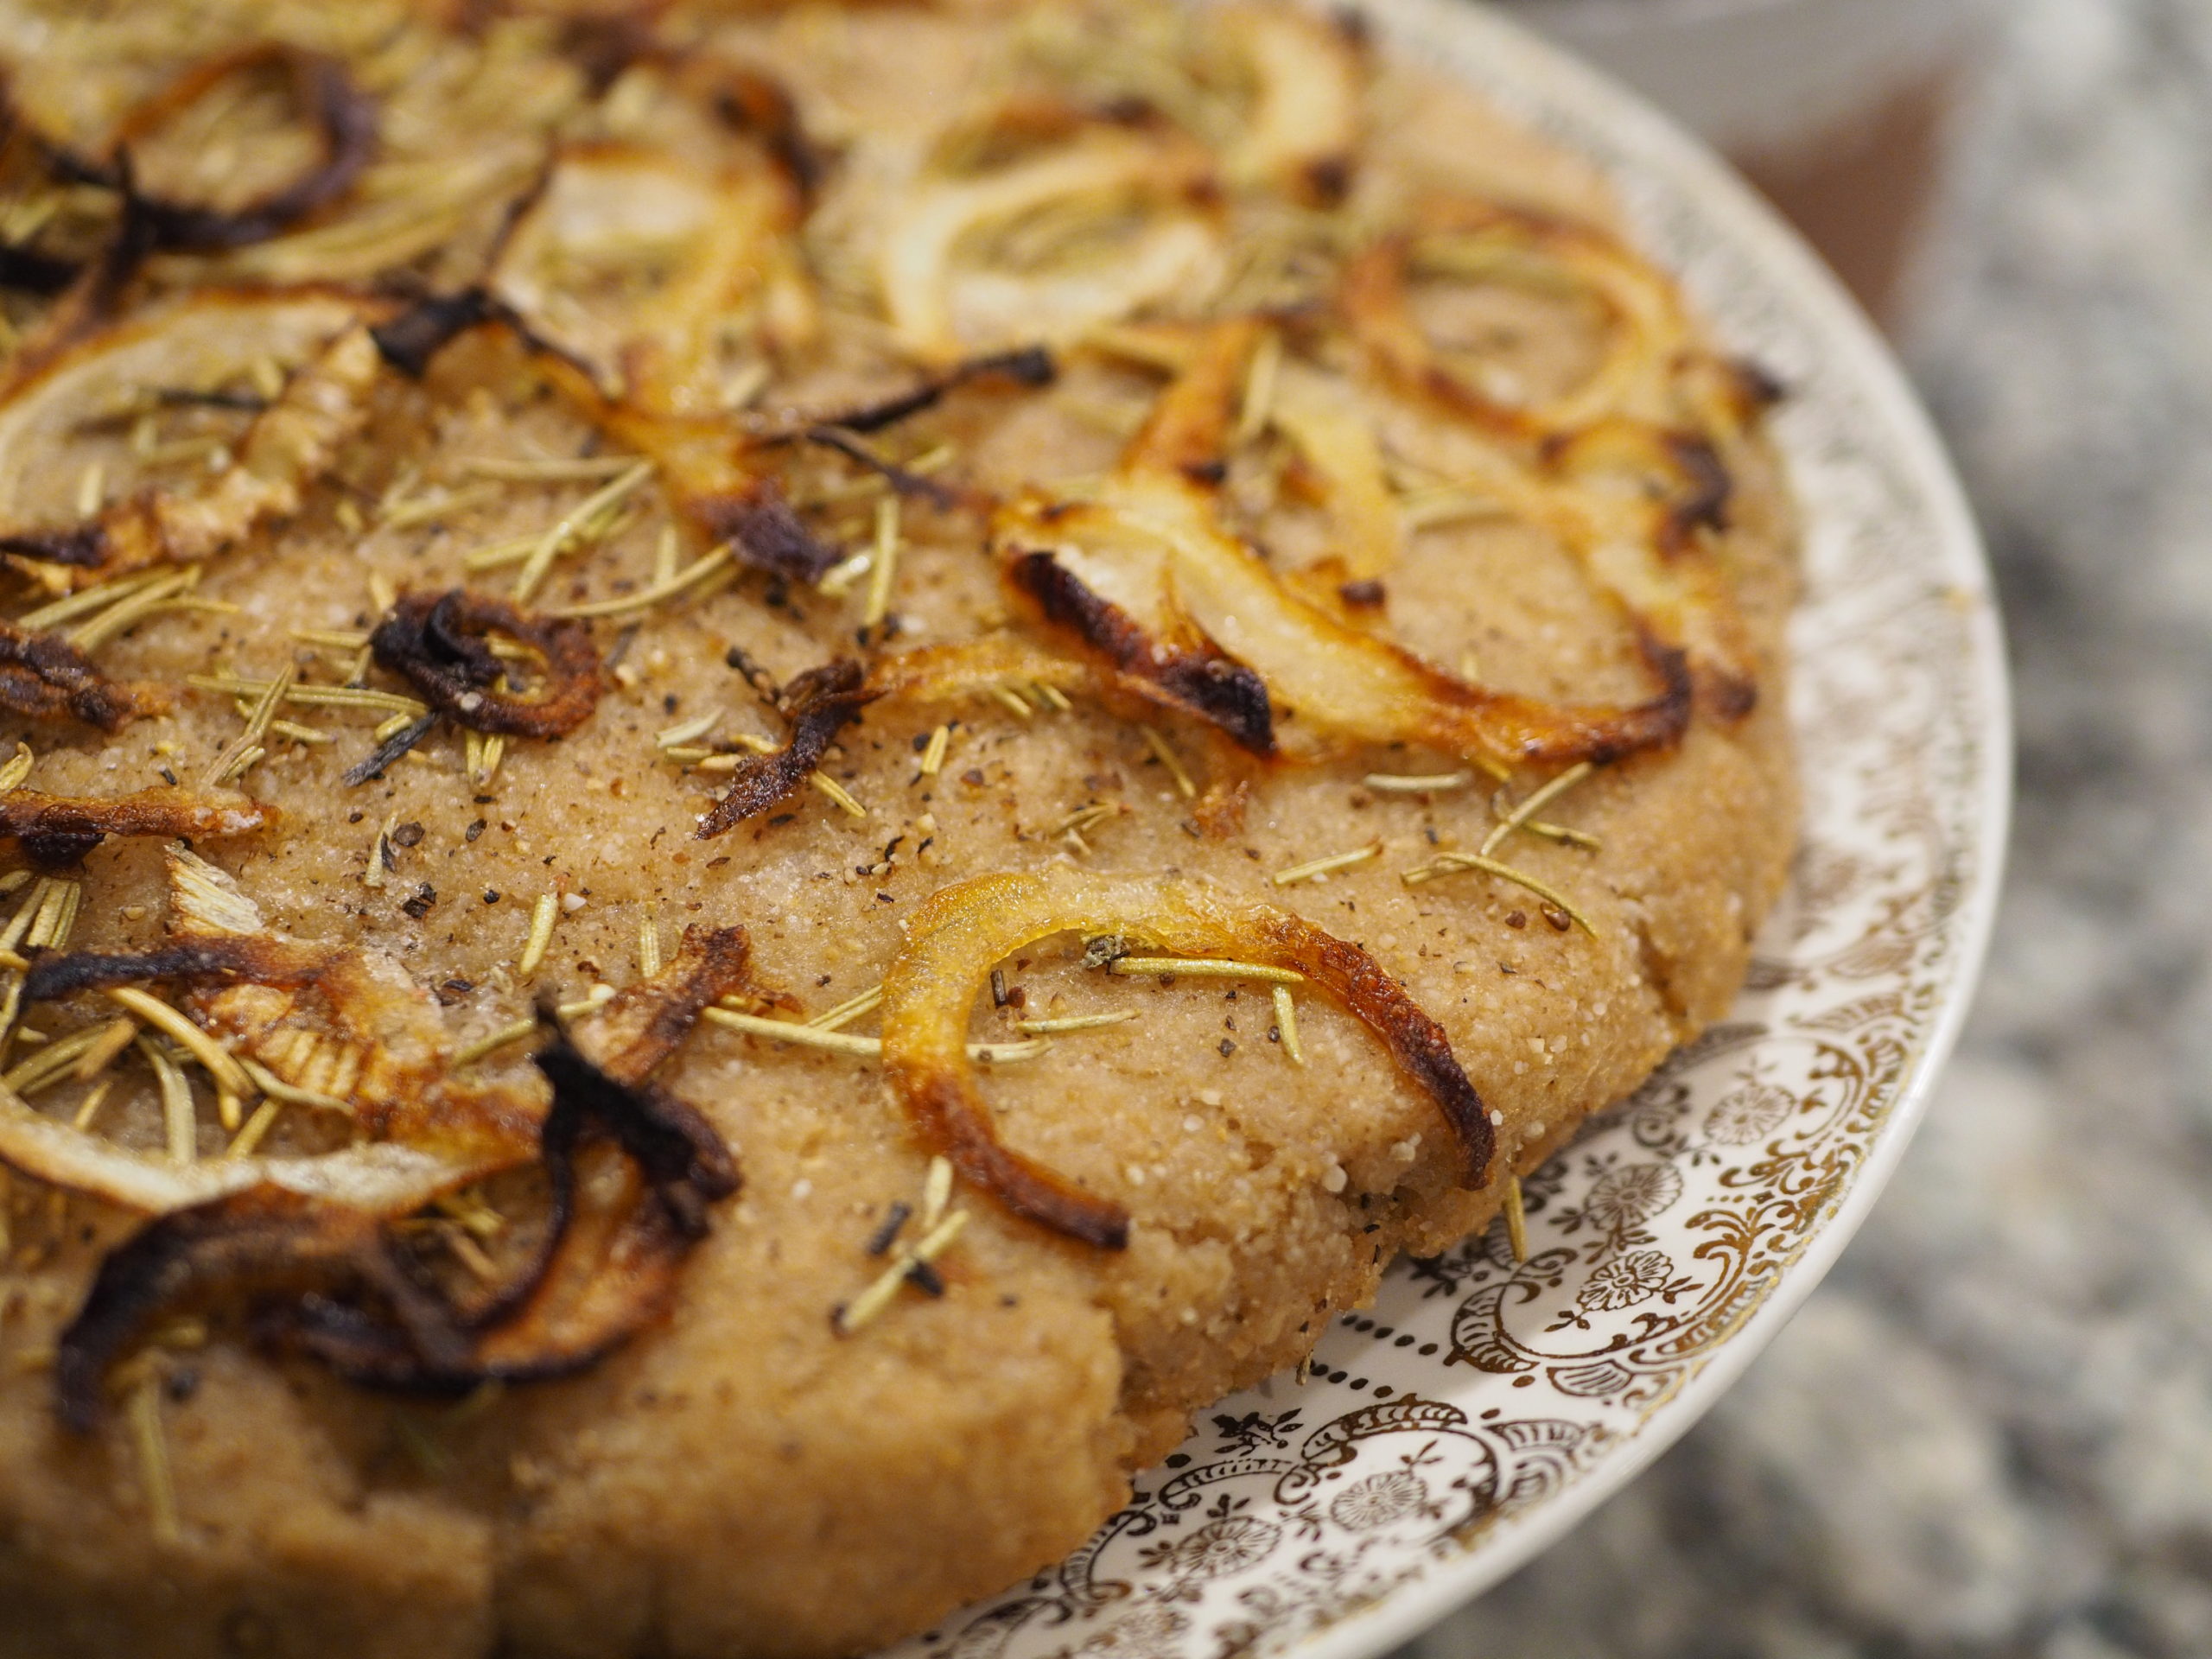
Gluten free focaccia bread that actually tastes good
I’m excited to share this recipe because I’ve actually never found a gluten free focaccia bread in stores but it’s one of my favorite types of breads. Gluten free focaccia recipe are also kind of hard to find! Almost two years ago I traveled around Australia and to my surprise realized it was much easier for me to eat out than at home in Houston Texas. Not only were gluten free items easier to find, but the servers at restaurants seemed to be more educated on food allergies and better able to accommodate special diet requests. I discovered a few gluten free bakeries while traveling too which I quickly fell in love with. The gluten free bread I found in stores back home just didn’t compare to freshly baked bread. Before this visit to Australia, I was convinced that gluten free bread that tastes good just doesn’t exist.
I came back ready to learn the art of baking good bread and come up with new recipes for my patients with celiac, crohn’s, ulcerative colitis and those that just don’t tolerate gluten well. I’ve been on the hunt for a good gluten free focaccia bread recipe for a while now, and I think I’ve nailed it with this one! Focaccia bread isn’t the quickest recipe but it’s worth the wait! Also, to make the bread making process easier I recommend dividing the work over a few days so that you are only spending 5-15 minutes a day on it. I’ve divided it up this way for those of you limited on time.
Day #1: Make your Base Flour, 5-15 minutes
All-Purpose Gluten Free Base Flour: This makes 4.5 lbs of flour mixture
6 Cups Rice Flour, Brown or white will work, I like Bob’s Red Mill White Rice Flour
3 1/4 Cups Sorghum Flour, I like Bob’s Red Mill Sorghum
1 3/4 Cups Arrowroot Starch, I like Bob’s Red Mill Arrowroot
1 1/4 Cups Potato Starch, I like Bob’s Red Mill Potato Starch
1/4 Cup Ground Psyllium Husk, I like Anthony’s Psyllium Husk*
*Alternatively, you can use things like Xanthan Gum in place, however I find it can cause gas in some people so I’ve used psyllium husk instead.
Instructions for Base Flour:
- Mix together well.
- Store in an air tight container for later. You can use this base for more bread recipes or other cooking.
- Pro Tip: If you can’t find a flour or it’s more expensive, consider making it yourself! If you have a powerful blender like a vitamix you can make flours easily and you can save money on flour this way too. You can often find less expensive or refurbished Vitamix too like this one.
- Pro Tip: My favorite brand to buy flours from is Bob’s Red Mill. I can always count on high quality grains when I purchase from them. Also, in terms of pesticide residue, Bob’s Redmill always tests on the lowest end compared to other companies which I also like!
Day #2: Making the Dough & Baking Day
Ingredients:
6 cups of base flour (see above)
1 tablespoon of granulated yeast
1.5 tablespoons of salt (I like wild pink salt)
3 1/4 cups of lukewarm water (100 degrees Fahrenheit or below)
1/4 cup of olive oil
1/4 yellow onion thinly sliced
2 tablespoons olive oil for drizzling and greasing the baking sheet
3/4 teaspoon dried rosemary
Instructions for Gluten Free Focaccia Recipe: Makes 3 loaves
- Add in the dry ingredients. Mix together the flour, salt and yeast in a large bowl or food container. It will need to be large enough to hold 5-6 quarts of dough. I didn’t have a large enough container for this so I actually just used the largest steel pan I had.
- Mix the liquid ingredients together- olive oil and water.
- Add the liquid ingredients to the mixed dry ingredients. Make sure everything is fully combined.
- Cover loosely with a towel or lid (not airtight). Allow the bread to rest at room temperature for two hours to allow the yeast mixture to rise.
- After the two hour rise, you can use the dough immediately or refrigerate it for later use. Cold dough is a little easier to work with though.
- Preheat the oven for 425°F
- For best results, place an empty metal broiler tray on the shelf below where you’ll put your bread. I personally don’t have one yet, so I use a baking pan that can hold liquid.
- Prepare a flat surface for your dough by dusting the surface with rice flour. I don’t use anything fancy here- just a clean counter!
- You should have 3 pounds of dough once mixed, so take off 1 pound for baking.
- Roll the 1 pound of dough into a ball shape and place on to the flat dusted surface you prepared.
- Flatten a bit into the desired shape and flatness. Once you have a nice disk shape, it should be about a 1/2 inch thick.
- Prepare your baking sheet with olive oil, just enough so that the dough will come off easy after baking.
- Chop up some thinly sliced onion
- In a skillet, sauté the onion slices over medium heat in olive oil. You’ll want to aim to have translucent onions, but not browned as they will also cook when baking in the oven too. Once prepared, place gently on the top of your focaccia dough. Be careful to not add too many onions, you’ll want to be able to see the surface of your dough so that it will brown nicely.
- Sprinkle rosemary, salt and pepper across the top of the dough and extra olive oil if desired.
- Rest the dough on the baking sheet for 15 minutes before baking.
- After resting the dough, place the baking sheet in the oven on the top shelf.
- Pour 1 cup of hot water into the broiler tray (bottom shelf) and close the door immediately. This creates steam that helps create a better bread.
- Bake for 30 minutes. This will vary with altitude, so be sure to watch the bread as it gets closer to the end of the allotted time.
- Slice and serve with a nice cashew cheese! Some people like topping it with pesto or sundried tomatoes too. Sprouts has a great dairy free pesto I love.


0 Comments
Trackbacks/Pingbacks